网站首页> 文章专栏> Rabbitmq-java端快速入魔
Rabbitmq-java端快速入魔
原创
时间:2024-05-05 14:51
作者:AI智能
浏览量:1196
Java客户端-快速入门
访问:SpringAmqp的官网地址:https://spring.io/projects/spring-amqp

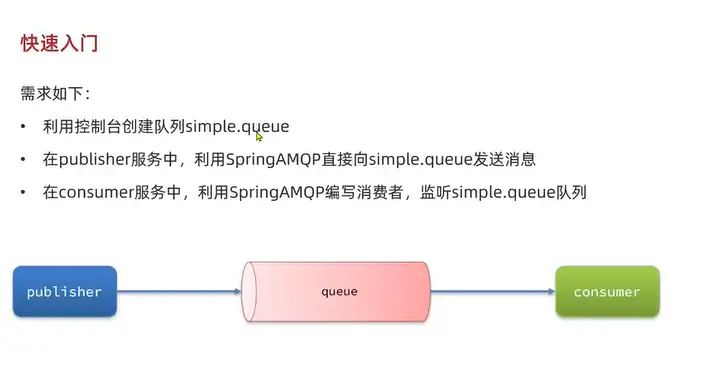
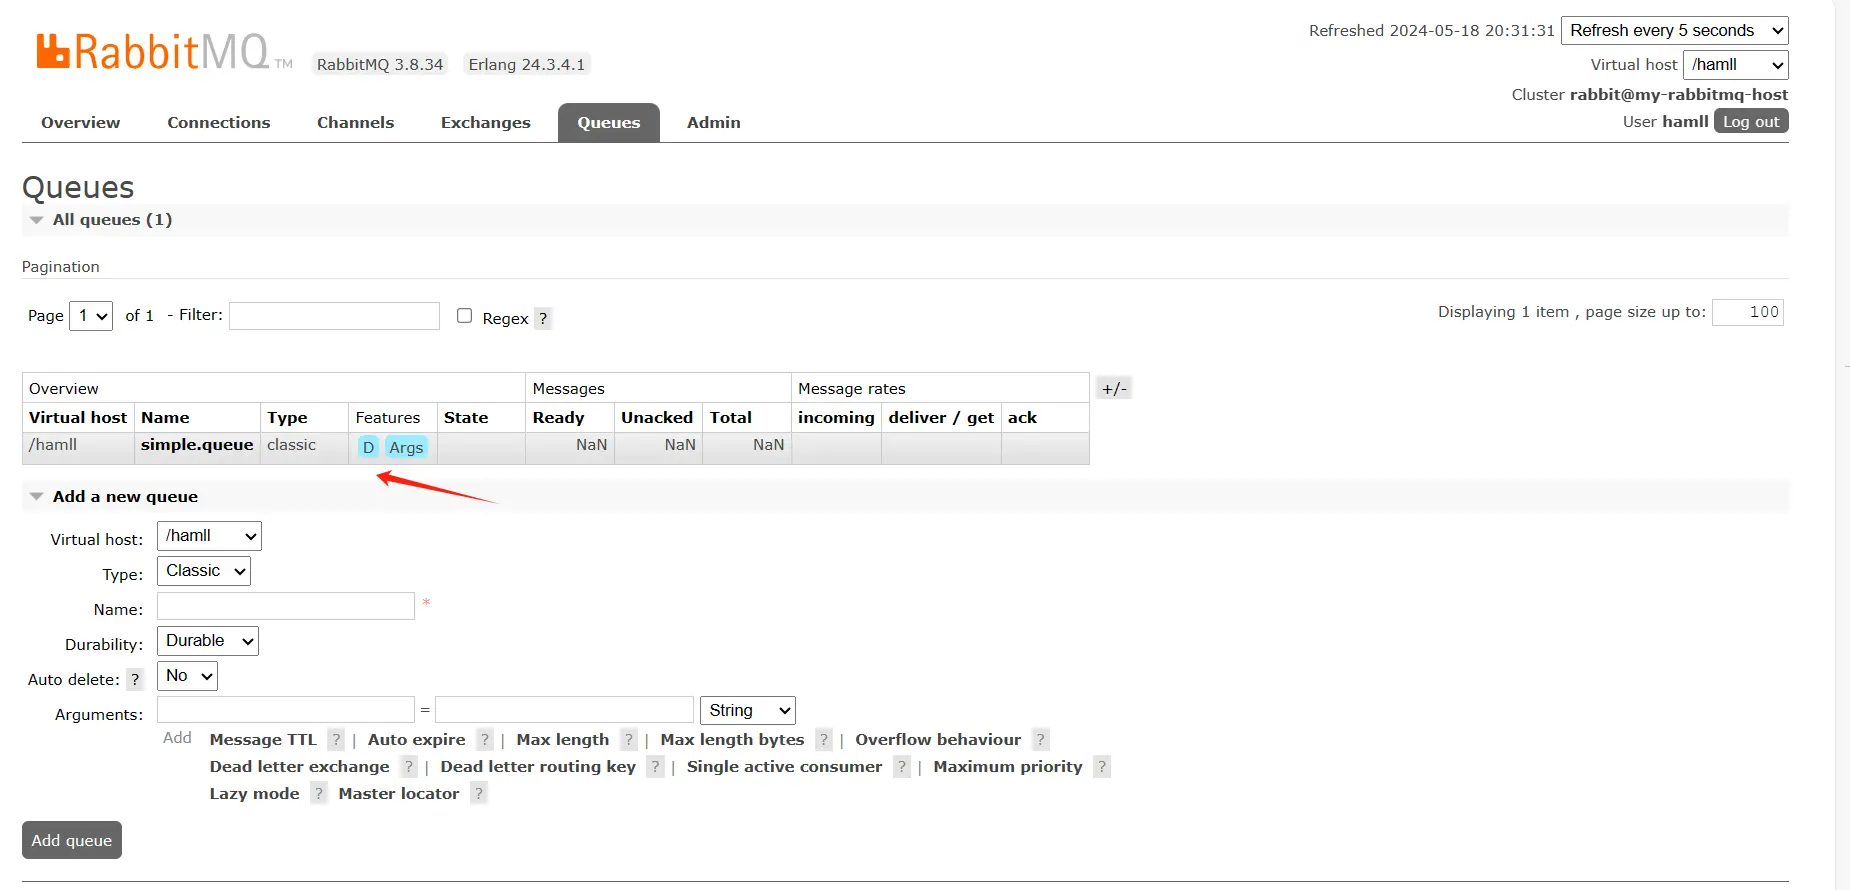
1,在控制台中创建队列
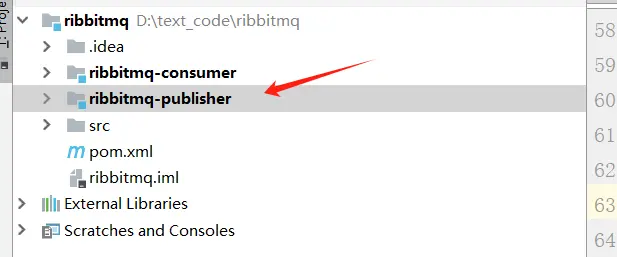
2,创建项目,一个主项目maven项目,其他用springboot创建
3,在工程中引入依赖包
<dependency>
<groupId>org.springframework.boot</groupId>
<artifactId>spring-boot-starter-amqp</artifactId>
</dependency>
4,在项目中配置yml
spring:
  rabbitmq:
    host: 192.168.1.49  #主机名
    username: hamll #创建的用户
    password: hamll #用户的密码
    port: 5672
    virtual-host: /hamll
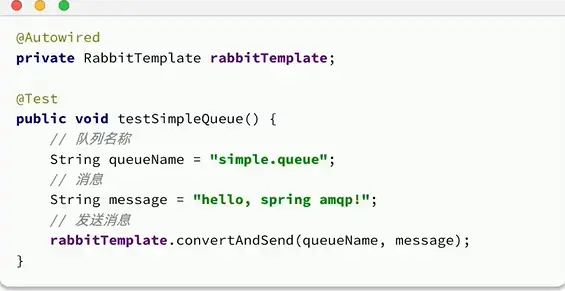
5,SpringAMQP提供了RabbitTemplate工具类,方便我们发送消息,发送消息代码如下:
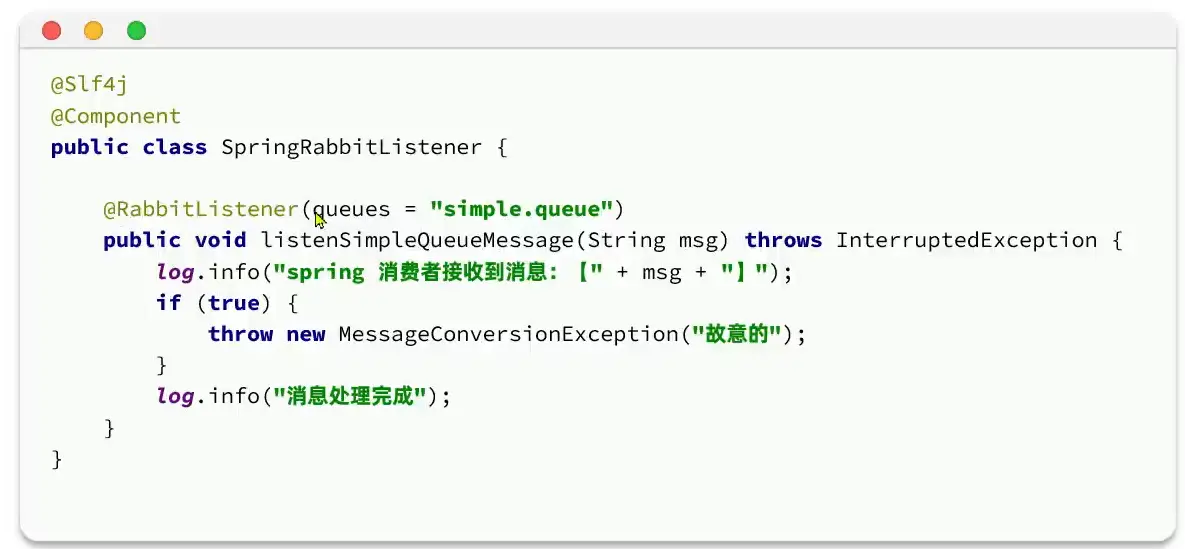
6,SpringAMQP提供声明式的消息监听,我们只需要通过注解在方法上声明要监听的队列名称,将来SpringAMOP就会把消息传递给当前方法:
7,在rabbitmq-publisher 中 发送消息
@Test
void contextLoads() {
    String queuename = "simple.queue";
    String message = "hell,spring amqp";
    rabbitTemplate.convertAndSend(queuename,message);
}
8,在rabbitmq-consumer接收消息
@Slf4j
@Component
public class SpringRabbitListener {

    @RabbitListener(queues = "simple.queue")
    public void listenSimpleQueueMessage(String msg){
        System.out.println("接收到消息:" + msg);
    }
}
接收完消息后归零

动动小手 !!!
最新评论
- 最新发布

2024-05-05 19:44:43 回复